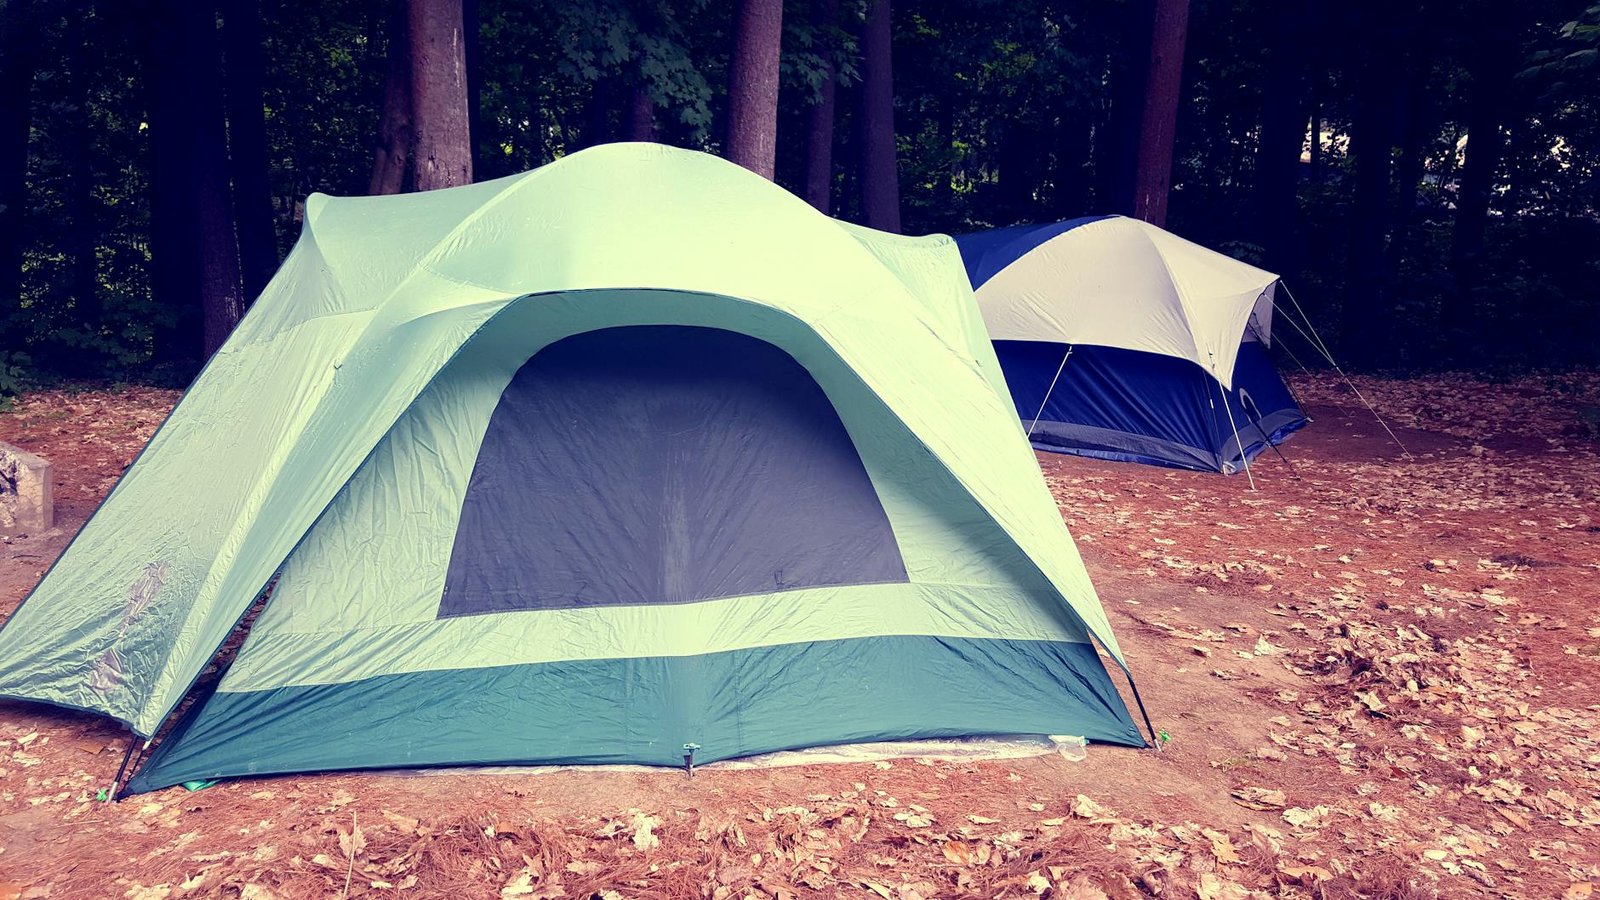
Camping is a cherished outdoor activity that allows us to disconnect from the daily grind and immerse ourselves in the beauty of nature. One of the fundamental skills every camper should master is setting up a tent. In this step-by-step guide, we’ll walk you through the process of building a tent at your campsite, ensuring a comfortable and enjoyable camping experience.


1. Choosing the Right Campsite
Selecting an appropriate campsite is crucial for a successful camping experience. Consider these factors when choosing your spot:
- Level ground: Look for a flat, even surface to set up your tent. Avoid areas with slopes or depressions, as these can lead to discomfort and water accumulation.
- Proximity to water: While it’s convenient to camp near a water source, ensure you are at least 200 feet away from lakes, rivers, or streams to protect the environment and prevent flooding during heavy rain.
- Safety: Check for potential hazards such as dead trees, loose rocks, or animal trails. Make sure your campsite is a safe distance from cliffs, steep slopes, or avalanche-prone areas.
- Regulations: Be aware of any camping regulations or permits required in the area you plan to camp. Follow Leave No Trace principles to minimize your impact on the environment.
2. Gather Your Supplies
Before you start setting up your tent, gather all the necessary equipment and supplies:
- Tent: Ensure you have all the components, including the tent body, rain fly, poles, stakes, and guy lines.
- Ground tarp or footprint: This extra layer provides protection for the tent floor.
- Mallet or hammer: For driving tent stakes into the ground.
- Headlamp or flashlight: It will be essential for setting up in low light conditions.
- Tent instructions: Keep the manufacturer’s instructions handy for reference.
3. Lay Down the Ground Tarp
Place the ground tarp or footprint on the chosen campsite area. This provides an additional barrier against moisture and punctures.
4. Assemble the Tent Poles
Refer to the tent’s instructions to identify the different poles and their corresponding sleeves or clips. Many tents use color-coding and numbers to simplify assembly. Assemble the poles according to the manufacturer’s guidelines.
5. Raise the Tent
Position the tent body over the ground tarp and attach the tent poles to the grommets or clips. Start with the main support poles and then work on the additional ones. Make sure the tent is centered over the tarp.
6. Attach the Rain fly
If your tent includes a rain fly (essential for weather protection and insulation), place it over the tent body. Ensure it’s stretched taut and covers the entire tent, leaving no gaps.


7. Secure the Tent with Stakes
Using the provided stakes, secure the tent to the ground by hammering the stakes through the loops or grommets at the corners of the tent and rain fly. Firmly tug on the tent to ensure it’s properly tensioned.
8. Adjust the Guy lines
If your tent has guy lines, attach them to the designated anchor points and tension them appropriately. Guy lines enhance stability, especially in windy conditions.
9. Check for Proper Alignment
Verify that your tent is correctly oriented within the campsite, and ensure that the tent doors and windows are facing the desired direction. Make any adjustments to the tent’s position as needed.
10. Test Your Setup
Before settling in for the night, enter the tent and inspect for loose fabric, uneven flooring, or potential issues. Make any necessary adjustments to guarantee a comfortable and secure camping experience.


Conclusion
Building a campsite tent might initially seem challenging, but with practice, it becomes second nature. Follow these steps, consult your tent’s instructions, and take your time to establish a well-constructed shelter. With the right techniques and a bit of patience, you’ll be ready to enjoy the great outdoors with confidence on your next camping adventure.
more guides at: https://trailtotent.com/guides/


Leave a Reply